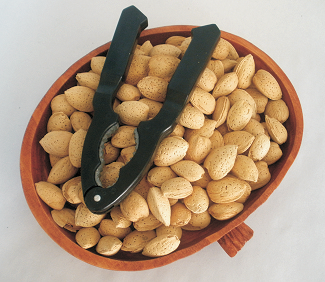
This project features two-sided carving to create a functional and decorative segmented-assembly Pumpkin Dish for the fall season and upcoming Thanksgiving holiday! The dish can be coated with a food-safe clearcoat such as shellac (not waterproof) or a salad bowl finishing formula which will yield a tougher, water-resistant surface. By the way, many modern clear finishes are non-toxic after they are fully cured, even if they don’t advertise or promote that.
The mpc components are carved and cut out using just the 1/16 Carving Bit. No other bits are required.
The finished dimensions are about: 8.2″ x 9.6″ x 2.25″.
ITEMS YOU WILL NEED
- Board with the following dimensions:
- 0.75″ x 11″ x 32″
- NOTE: Do not use boards that are shorter in length than specified above.
- Sandpaper, clamps, blue painter’s tape, wood glue, stain and/or paint and clear finish
- A Dremel-type rotary tool with assorted sanding wheels and bits to sand small details and speed up preparation for finishing.
When you compile, you may or may not get a pop-up window with an “Auto-Jig” warning message. If you do see the message, you may safely click on “Ignore” because our actual boards will be large enough that it won’t be an issue.
After the project is compiled, select “Normal or Best” for the File Quality setting. Click “OK” to upload to your memory card.
NOTE: Carve times are as follows:
- Good: 5 hours 51 minutes
- Best: 9 hours 17 minutes
Take and insert the card into your machine and load the project board.
Turn your machine on and proceed with Step 2…
STEP 2 – Carving
At the machine, follow the prompts to carve the project.
Once the carving is finished, remove it from the machine and vacuum or blow off any excess sawdust.
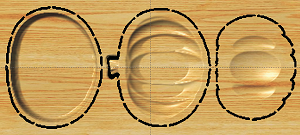
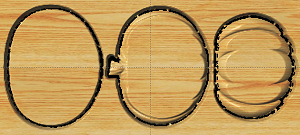
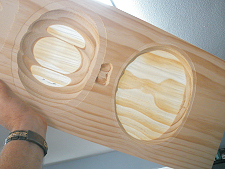
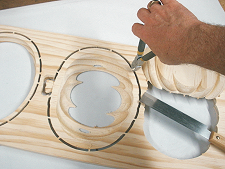
STEP 3 – Separate Parts from Material
Separate the parts from the board. Sand the flat glue surfaces by taping a sheet of 220-grit sandpaper to a flat surface and sliding the parts over it a few times.
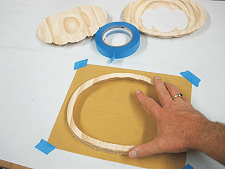
STEP 4 – Assembly and Finish Prep
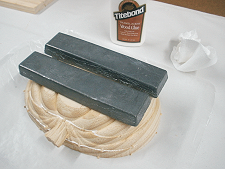
Glue the three sections together, upside down on a flat surface. If you notice any size discrepancies between the parts, place them centered to each other (sanding/blending later). Clamp or weigh down until dry.

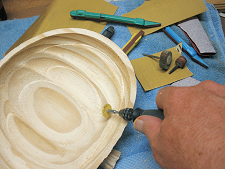
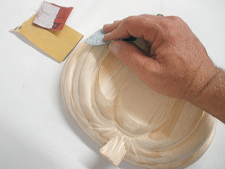
Final sand and blend the seams to prep for finishing. I used a rotary tool with various abrasive attachments and sanding drums to do most of the sanding. For hand sanding, I used 80, 150, and 220-grit sandpaper.
STEP 5 – Apply Finish
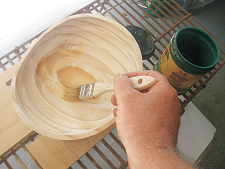
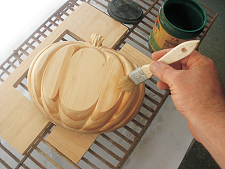
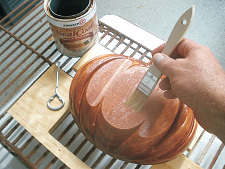
Apply your choice of finish. Here’s what I used on my sample Pumpkin Dish:
- One light coat of thinned Bulls Eye SealCoat (2 parts sealer/3 parts Denatured alcohol), then sanded
- Rust-Oleum Traditional Cherry Ultimate Stain
- Several coats spray shellac
- Three coats full-strength SealCoat


FINAL
I hope you’ve enjoyed making your Pumpkin Dish! I made another, so I will have these and my Autumn Dishes (from a previous project) ready for placing around the house and for the holiday table!
Happy Carving!