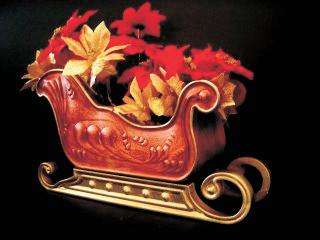
Here’s a nice project that can be used for a table centerpiece as well as a container for holiday treats!
The project is split up into 3 mpc’s (project files) and consists of 12 components that are easily assembled. The sleigh is a fully 3D decorative and functional piece that you are sure to enjoy for many years to come!
ITEMS YOU WILL NEED
- Boards with the following dimensions:
- 1 for Sides: .75” x 9.25” x 34”
- (nominal 1 x 10 x 34” long)
- 1 for Runners: .75” x 9.25” x 23”
- (nominal 1 x 10 x 23” long)
- 1 for Inner Sections: .75” x 11.25” x 34”
- (nominal 1 x 12 x 34” long)
- NOTE: Do not use boards that are shorter in length than specified above.
- 1 for Sides: .75” x 9.25” x 34”
- Two 1½” wood screws
- Sandpaper, drill, wood glue, CA glue (super glue) for “tacking” parts in place, wood stain (and/or paint) and clear finish
- A Dremel-type rotary tool with assorted sanding wheels and bits.
- McMaster.com sells 3/32” diameter Dremel mandrels and the 3/4” 3M sanding wheels online. We use McMaster part #4494A19 (80 grit), part #4494A18 (220 grit)
STEP 1 – Upload Project
Open the Designer software and open the included project file(s). You can then simply compile (upload) the project(s) to your memory card.
When you compile, you may or may not get a pop-up window with an “Auto-Jig” warning message. If you do see the message, you may safely click on “Ignore” because our actual boards will be large enough that it won’t be an issue.
After the project is compiled, select “Normal or Best” for the File Quality setting. Click “OK” to upload to your memory card.
Take and insert the card into your machine and load the project board.
Turn your machine on and proceed with Step 2…
STEP 2 – Carving
At the machine, follow the prompts to carve the project.
Once the carving is finished, remove it from the machine and vacuum or blow off any excess sawdust.
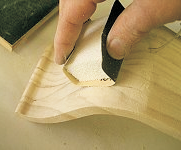
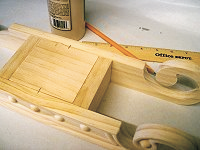
STEP 3 – Working with the Parts
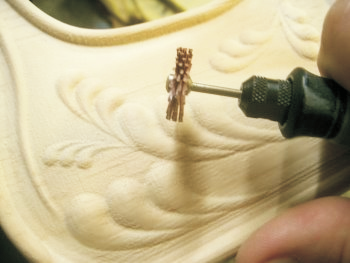
Separate all the pieces from the boards and remove the tab nodes around the cutouts. Sand all surfaces. Use your rotary tool with 3M sanding disks (220 grit) and/or a small file to help get into the tight spots.
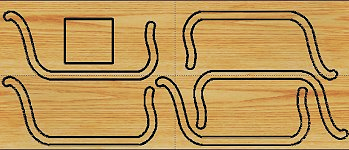
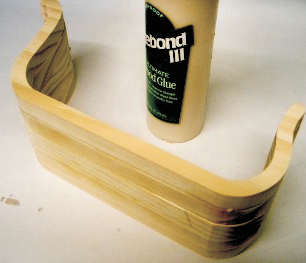
Glue the 5 inner sections together with both a liberal amount of wood glue and super glue to tack rapidly, then clamp or weight down while they dry.
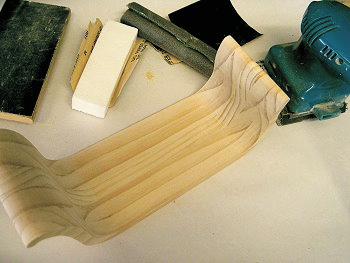
STEP 4 – Assembly
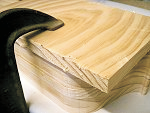
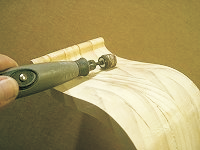
When the inner section assembly is dry, sand the laminated sections so they are perfectly flush with each other. Without altering the edge profile, use coarse sandpaper for shaping, and your rotary tool, sanding blocks and fine sandpaper until the laminated section is well groomed and smooth inside and out.
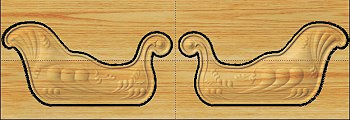
Glue the sleigh sides onto the inner section assembly. Secure with rubber bands or clamps until dry.
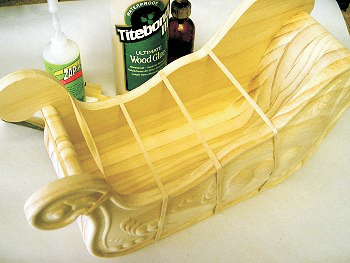
When dry, sand the inner section assembly to nicely blend in with the sleigh sides.
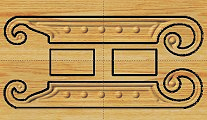
Glue the 3 pieces of the runner “box” together.
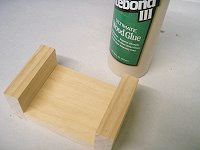
Glue the runners to the sides of the box. Center the box to the length of the runners.
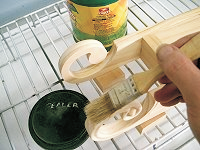
STEP 5 – Adding Runners
Apply a light coat of thinned sanding sealer to all surfaces. After the sealer is dry, give everything another light sanding before applying the final stain/paint/clearcoat.
Place the sleigh on the runners and drill two holes through the bottom of the sleigh into the runner box for the two wood screws.
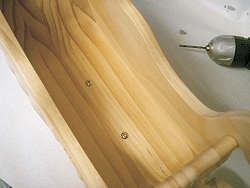
TIP: Drill one hole, insert a screw to hold the sleigh in position while you drill the second hole.
You could optionally glue the sleigh onto the runners instead, but the screws allow disassembly for storage (just unscrew the sleigh from the runners and stack the runners upside down on top of the sleigh to make a more compact “package” for storage). In any case, keep the parts unassembled for finishing.
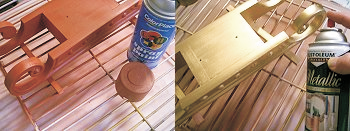
STEP 5 – Finishing
Finish your sleigh as desired – there are unlimited possibilities! I primed the runners with red spray primer and sanded lightly before spraying with gold metallic paint.
I stained the sleigh with MinWax Cherrywood gelstain. When dry, I applied 4 coats of MinWax water-based polycrylic clear satin.
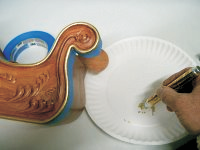
The gold trim around the sleigh sides was applied by hand with a KRYLON Gold Leaf marking pen. I used blue masking tape to keep me from getting sloppy.
NOTE: Apply any metallic color AFTER the clearcoat. A clearcoat over the metallics will dull the finish.
FINAL
After the finish is dry, simply assemble the sleigh to the runners with the wood screws and fill it with whatever holiday items you wish! Be warned – everyone who sees your finished Festive Sleigh is going to want you to make them one!
Happy Carving!