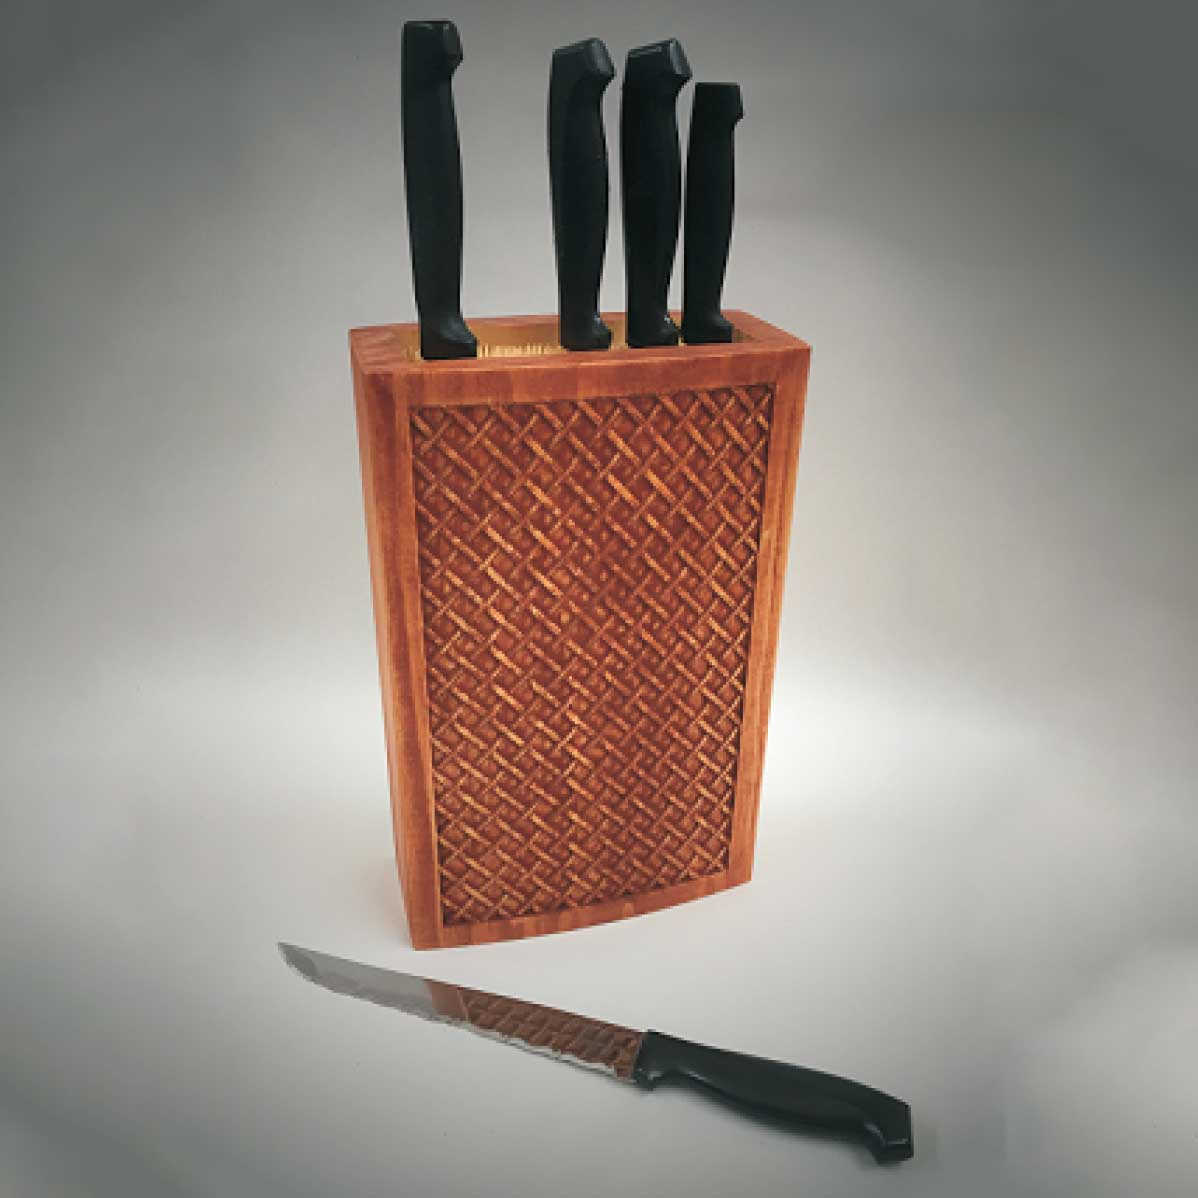
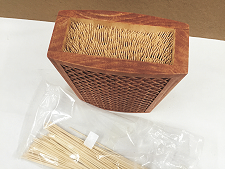
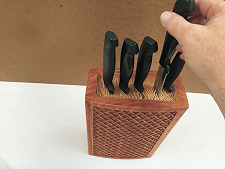
This is an easy-to-make universal Kitchen Knife Holder project featuring a classic lattice weave design theme on the curved side panels. Safely stow knives with blade lengths of up to 11 long. A great gift or addition to your own kitchen!
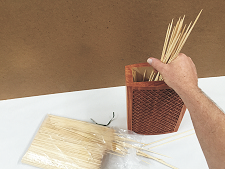
Knives are held in place using bamboo skewers that fill the holder’s cavity. As an option, you can use uncooked rice, dried beans or even uncooked spaghetti noodles in the cavity instead of the skewers!
The overall dimensions of the finished project are about: 3.75″ D x 7.5 ” W x 12 ” T
STEP 1 – Upload Project
Open the Designer software and open the included project file(s). You can then simply compile (upload) the project(s) to your memory card.
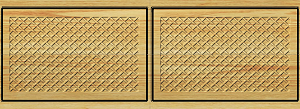
Knife_Holder_Panels.mpc
Plain_Panels.mpc
NOTE: Carve times are as follows:
- Knife_Holder_Panels.mpc
- Best: 4 hr. 6 min.
- Optimal: 8 hrs. 33 min.
- Plain_Panels.mpc
- Best: 19 min.
- Optimal: 22 min.
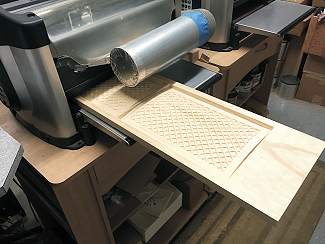
STEP 2 – Carving
You will see “Project Menu” on your LCD display. Press “1”, then scroll to the desired project and press the green ENTER button to select it. Then follow the prompts to carve the project.

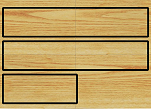
Plain_Panels.mpc
The Plain_Panels.mpc contains three plain panels that are most efficiently cut using your table saw instead of running the project on the machine. I have also included the mpc if you would rather cut those panels out with your machine.
Plain Panel Dimensions for cutting manually:
- TWO (2) side panels: 0.75 ” x 2.25 ” x 11.875 “
- ONE (1) base panel: 0.75 ” x 2.25 ” x 6 “

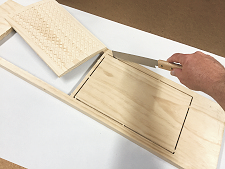
STEP 3 – Separate Parts
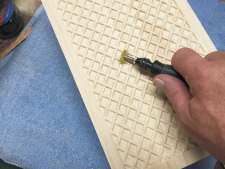
Separate all the parts from the boards with a utility knife or hobby saw. Sand the components to remove the tabs and any undesirable toolmarks.
A Dremel-type tool with 3M sanding discs and fine-point abrasive bits can speed up the process.
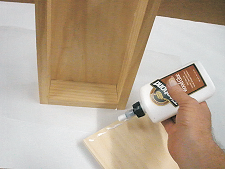
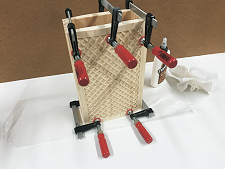
STEP 4 – Assembly
Glue the panels together and clamp until dry.
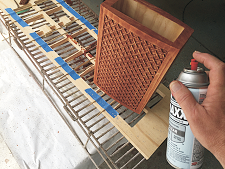
STEP 5 – Apply Finish
Apply stain/paint and a clearcoat of your choice. Here’s what I used on my Knife Holder made from Select Pine:
- Apply one very light coat of thinned Bulls Eye SealCoat, then sand again with very fine sandpaper & Dremel
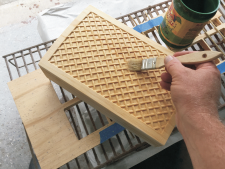
- Rust-Oleum Ultimate Stain – Traditional Cherry
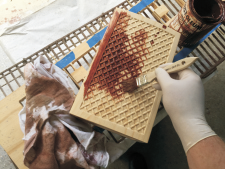
- Several coats Krylon clear Acrylic spray
STEP 6 – Insert Skewers
Insert the skewers into the holder cavity until it is full. I inserted them with the pointed side up. Test fit your knives and add or remove skewers as needed to allow the knives to slip in and out easily, yet still provide proper support.
NOTE: You can use uncooked rice, dried beans or even uncooked spaghetti noodles in the cavity instead of the skewers.
FINAL
sheet of self-stick felt or cork, cut out the shape a bit smaller than the trace, then apply to the bottom to protect whatever surface it is placed upon.
I hope you enjoyed making your Weaved Kitchen Knife Holder! It makes a nice companion project to several previous projects as shown below.
Happy Carving!