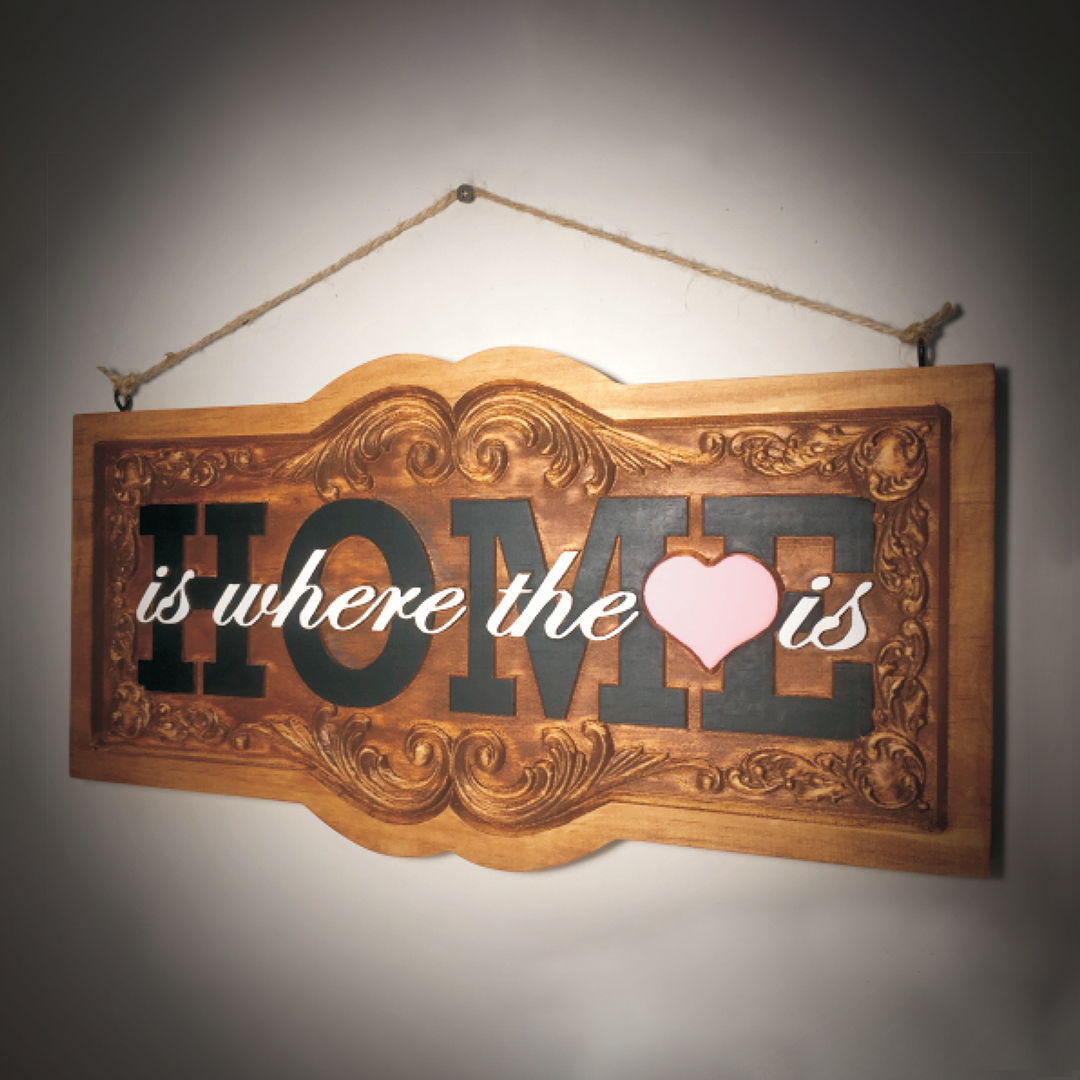
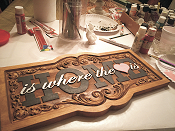
This project features a popular “stacked text” style decorative wall plaque for your home or as a gift or craft item to sell!
The project can be used as a reference for creating your own stacked text signs and plaques by observing the settings used for the text layers.
The finished dimensions are approximately 0.75 ” thick x 9″ tall x 18″ long.
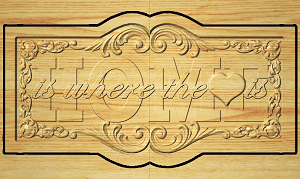
STEP 1 – Upload Project
Open the Designer software and open the included project file(s). You can then simply compile (upload) the project(s) to your memory card.
After the project is compiled, select “Normal or Best” for the File Quality setting. Click “OK” to upload to your memory card.
NOTE: Carve times are as follows:
- Best – 2 hours 16 mins
- Optimal – 5 hours 0 mins
Take and insert the card into your machine and load the project board.
Turn your machine on and proceed with Step 2…
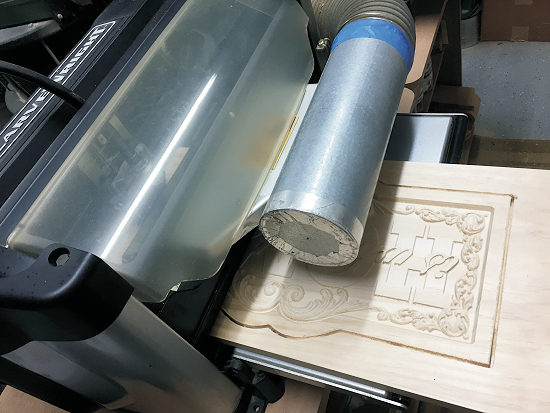
STEP 2 – Carving
You will see “Project Menu” on your LCD display. Press “1” then scroll to the Home_Heart.mpc project, and press the green ENTER button to select it. Then follow the prompts to start the carve.
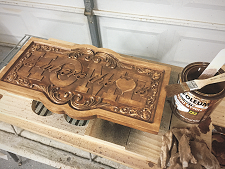
Once the carving is finished, remove it from the machine and vacuum or blow off any excess sawdust.
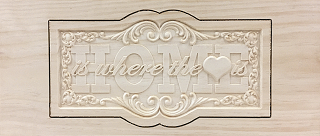
STEP 3 – Separate the Part from Material
Separate the part from the board. Sand off tabs and all undesirable toolmarks. I used a rotary tool with various tips and 80-grit 3M discs, along with a small belt sander to sand the plaque edges.
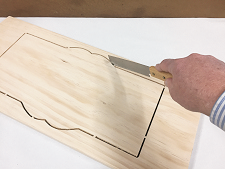
Separate part from the board using a hobby saw.
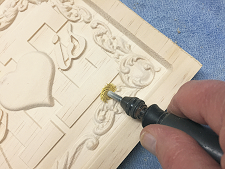
Sanding details with rotary tool, 3M discs and various abrasive tip attachments
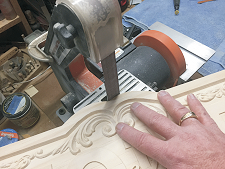
Sanding edges using a small belt sander.
STEP 4 – Apply Finish
Apply your choice of finish. Stacked/layered text usually looks best when the layers of text are finished with contrasting colors. This makes the plaque lettering more legible, as well as more attractive overall.
You can use small brushes, paint pens or a combination of both, to paint the text and other elements of the plaque.
Here’s what I used on the plaque sample made from Select Pine:
- One coat of thinned Bulls Eye SealCoat (50/50 sealer and denatured alcohol)
- Sanded again to remove stiffened fuzzies
- Applied Rust-Oleum Golden Mahogany stain
- 2 coats of Krylon Clear Acrylic (flat) spray to seal
- Painted select portions of the plaque with craft paints and paint pens
- Several light coats of Clear Acrylic (flat) spray
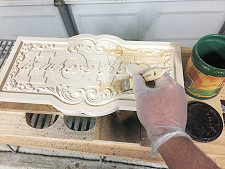
Apply thinned SealCoat overall. Sand off fuzzies after drying.
Applied stain and wiped off.
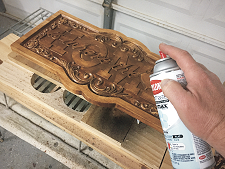
Seal stain with clearcoats.
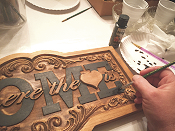
Brush-painting craft paint on the large text.
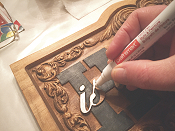
Paint Pen craft paint on the smaller script text.
Painting finished. Heart was brush-painted pink.
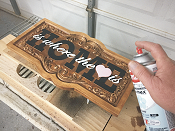
Clearcoat overall.
STEP 5 – Final Assembly
The final step is to choose a method to hang the plaque. You can opt for sawtooth hangers, triangle wire hangers or do what I did for the sample – install two eye hooks and tie a length of natural jute twine between them so the plaque can hang over a nail or screw on the wall. (Alternatively, you could display the plaque on a tabletop or shelf with a plate stand or picture frame stand of some sort.)
I painted the two eye hooks with flat black spray paint, then drilled two pilot holes about and inch from the top ends of the plaque for screwing in the eye hooks.
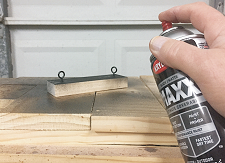
I painted the eye hooks with black spray paint.
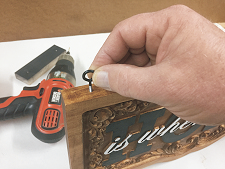
Drill pilot holes and insert the screw eyes.
Cut a length of jute and tie the ends to the screw eyes’ loops. I applied a small amount of Super Glue to the ends to keep them from unraveling.
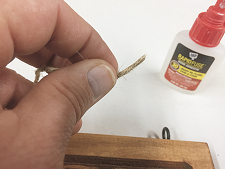
I applied a drop of Super Glue to the jute
ends, then tied the jute to both eye hook loops
FINAL
I hope you enjoyed making your “Home is Where the Heart is” stacked text plaque!
Happy Carving!

Michael Tyler