This iconic 1950 Panhead Motorcycle is a great project for both old and young. It’s fairly simple and doesn’t require much in the way of tools or expertise. It consists of only 1 project file (mpc) with all the patterns laid out, optimized, and ready to upload.
Note: This project requires Designer 4, but it can be carved with the free demo version.
Design
Using the CarveWright’s Designer software and modeling suite, the pieces of the project were meticulously created.
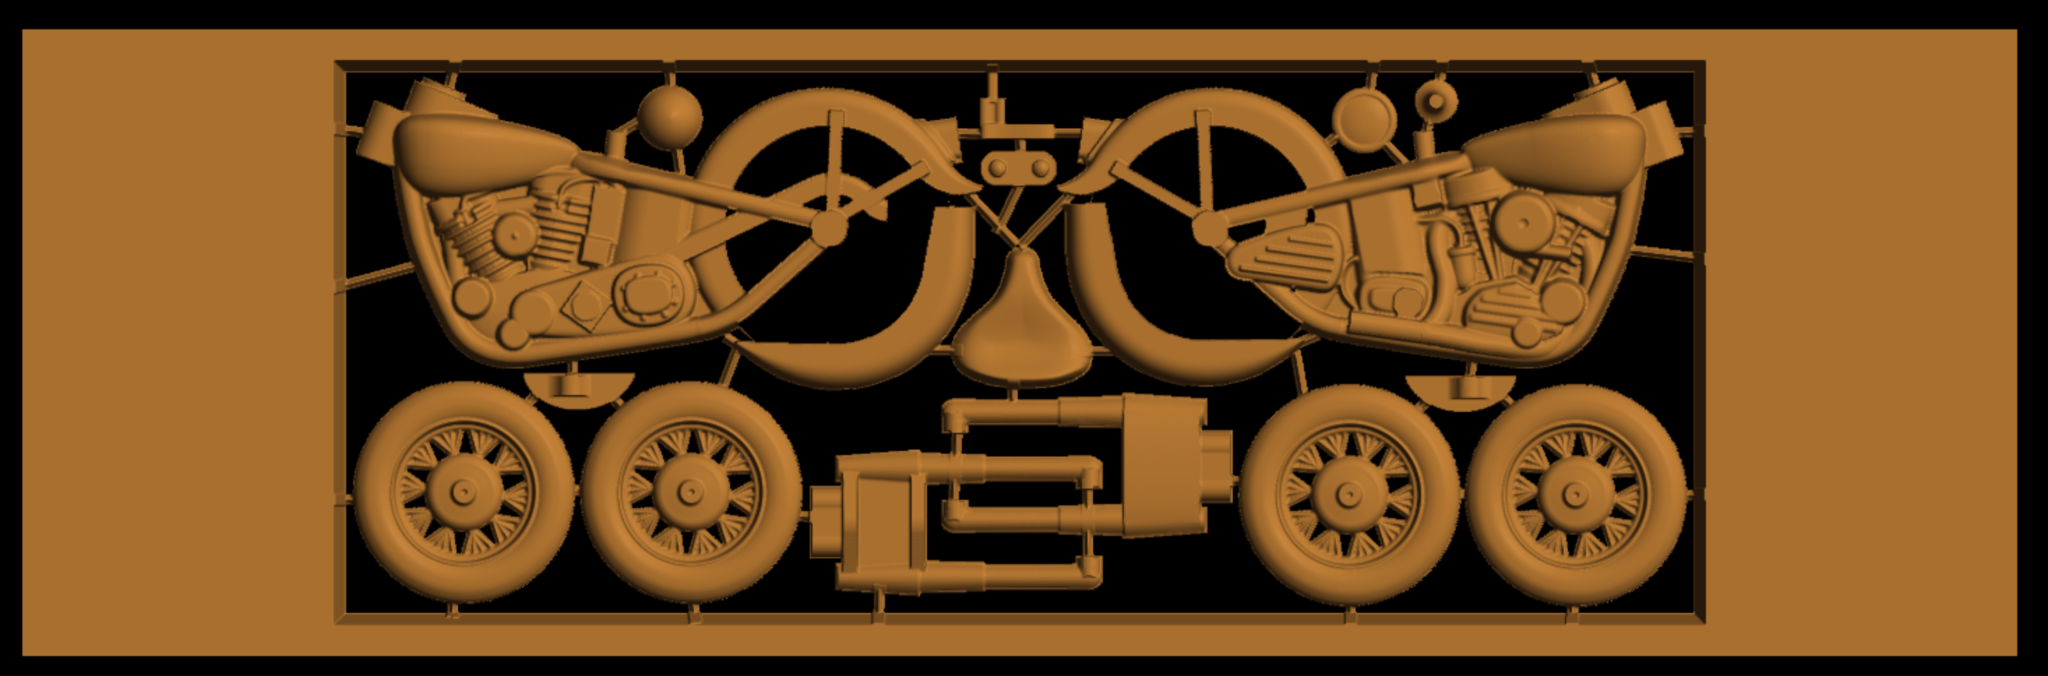
Once finished, it was compiled onto the CarveWrigth memory card to take to the machine for carving. NOTE: Carve times are as follows:
- Good – 3 hours 28 mins
- Best – 5 hours 9 mins
Carving
The CarveWright machine automates the project measurement and tells you what bit to put in. Then it carves
Working with the Parts
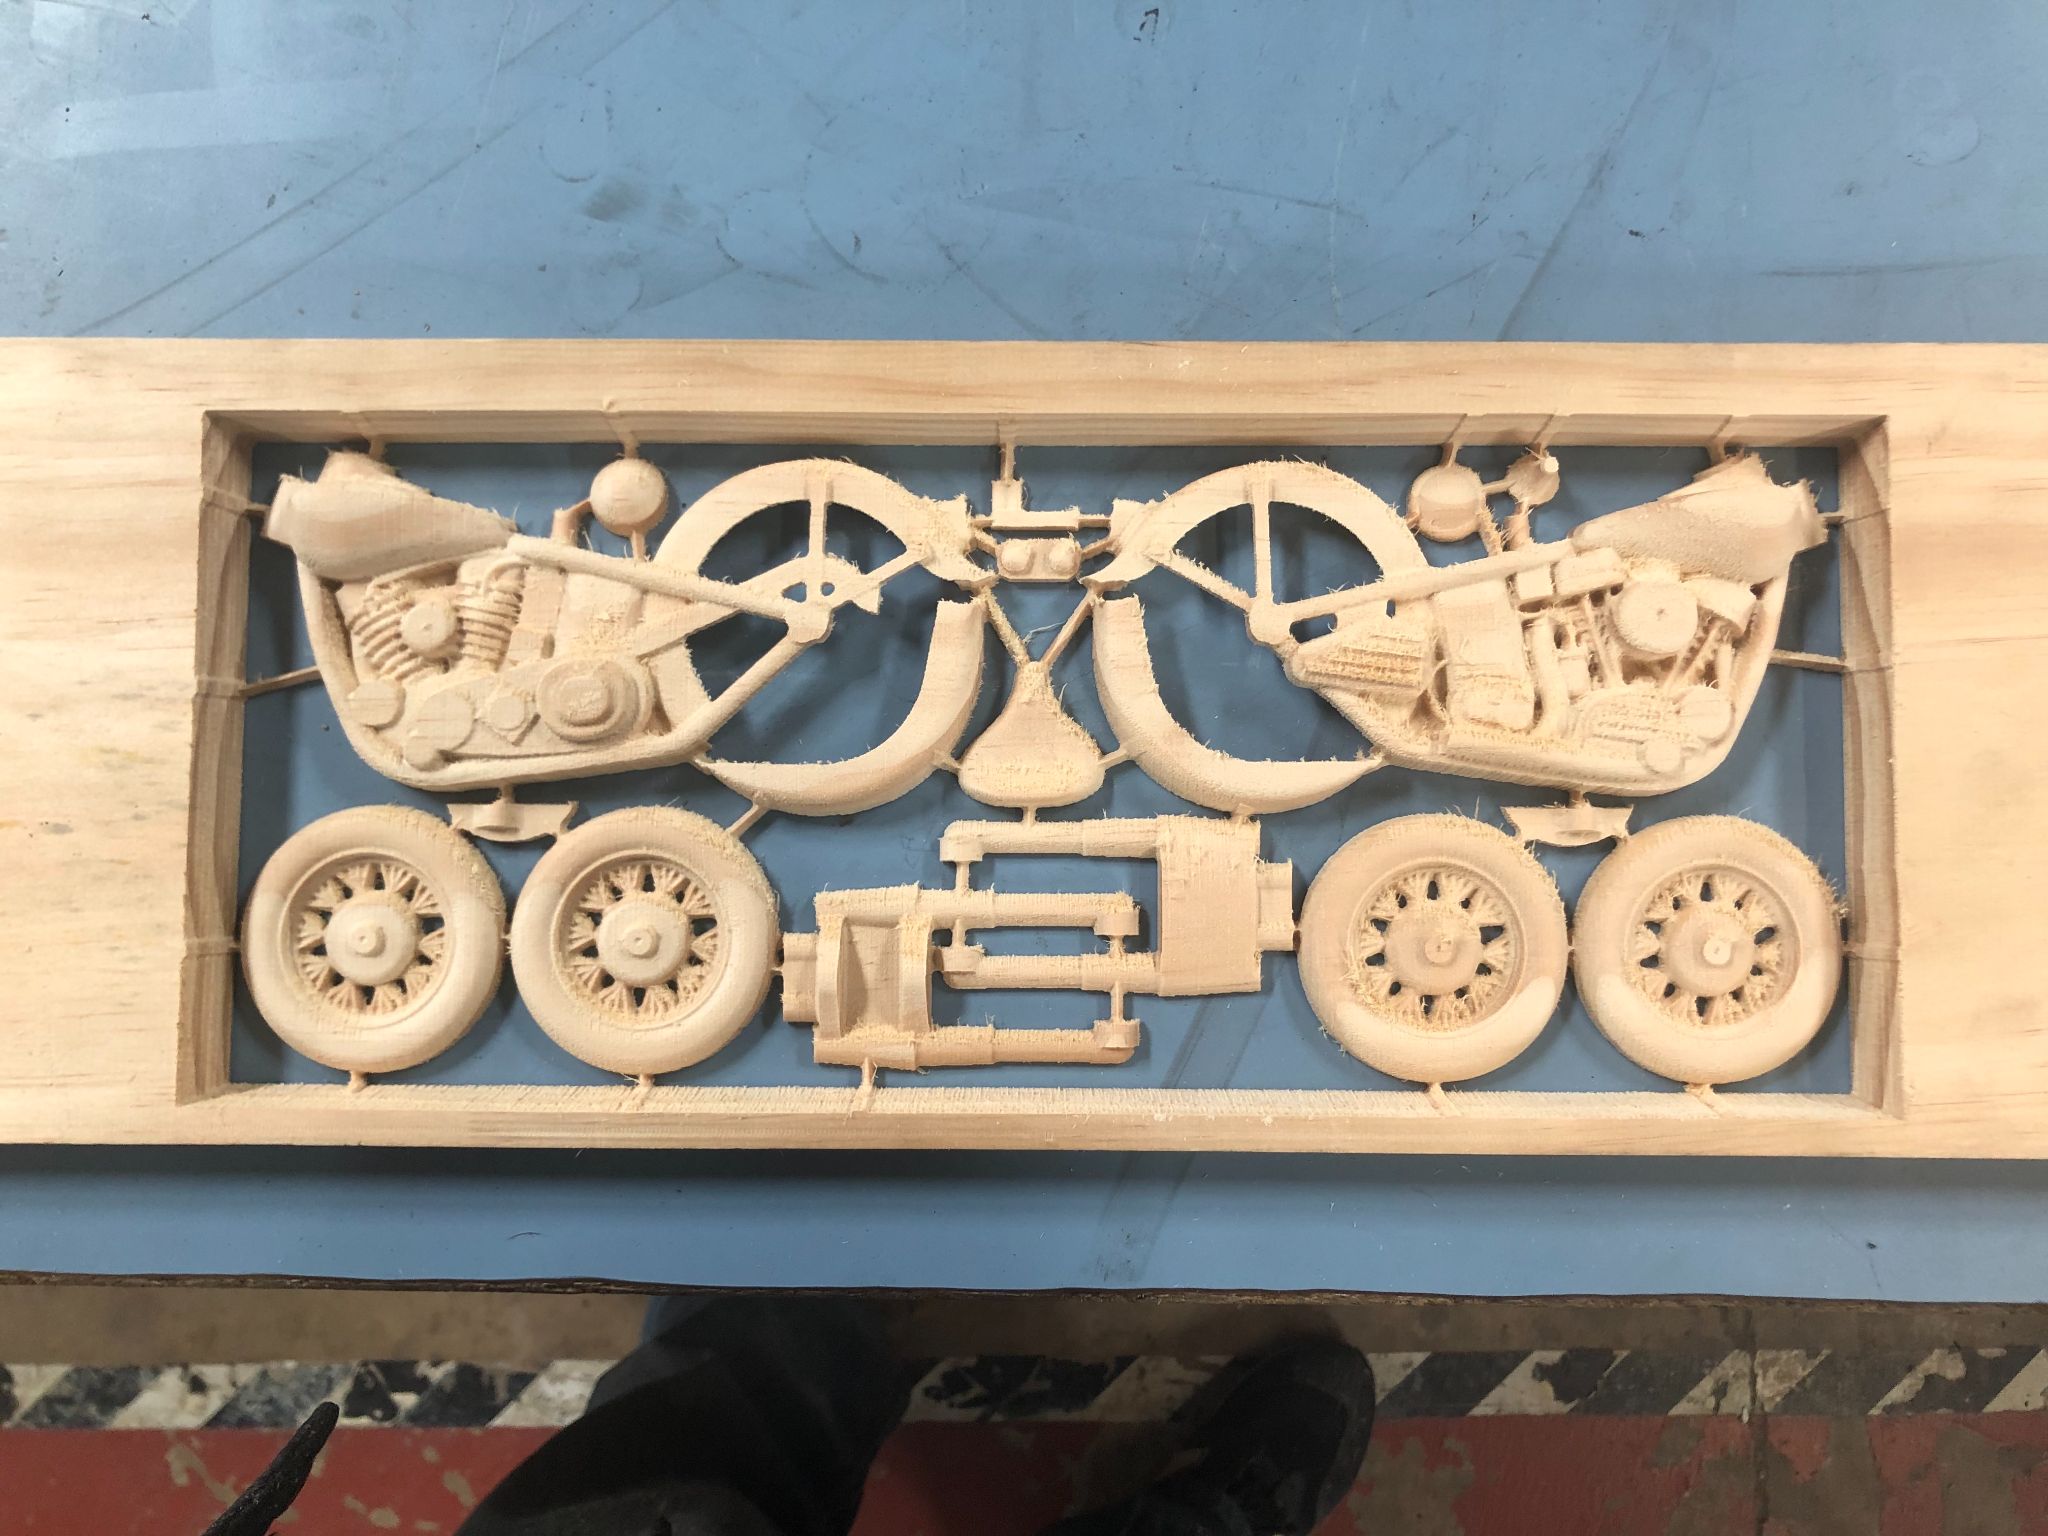
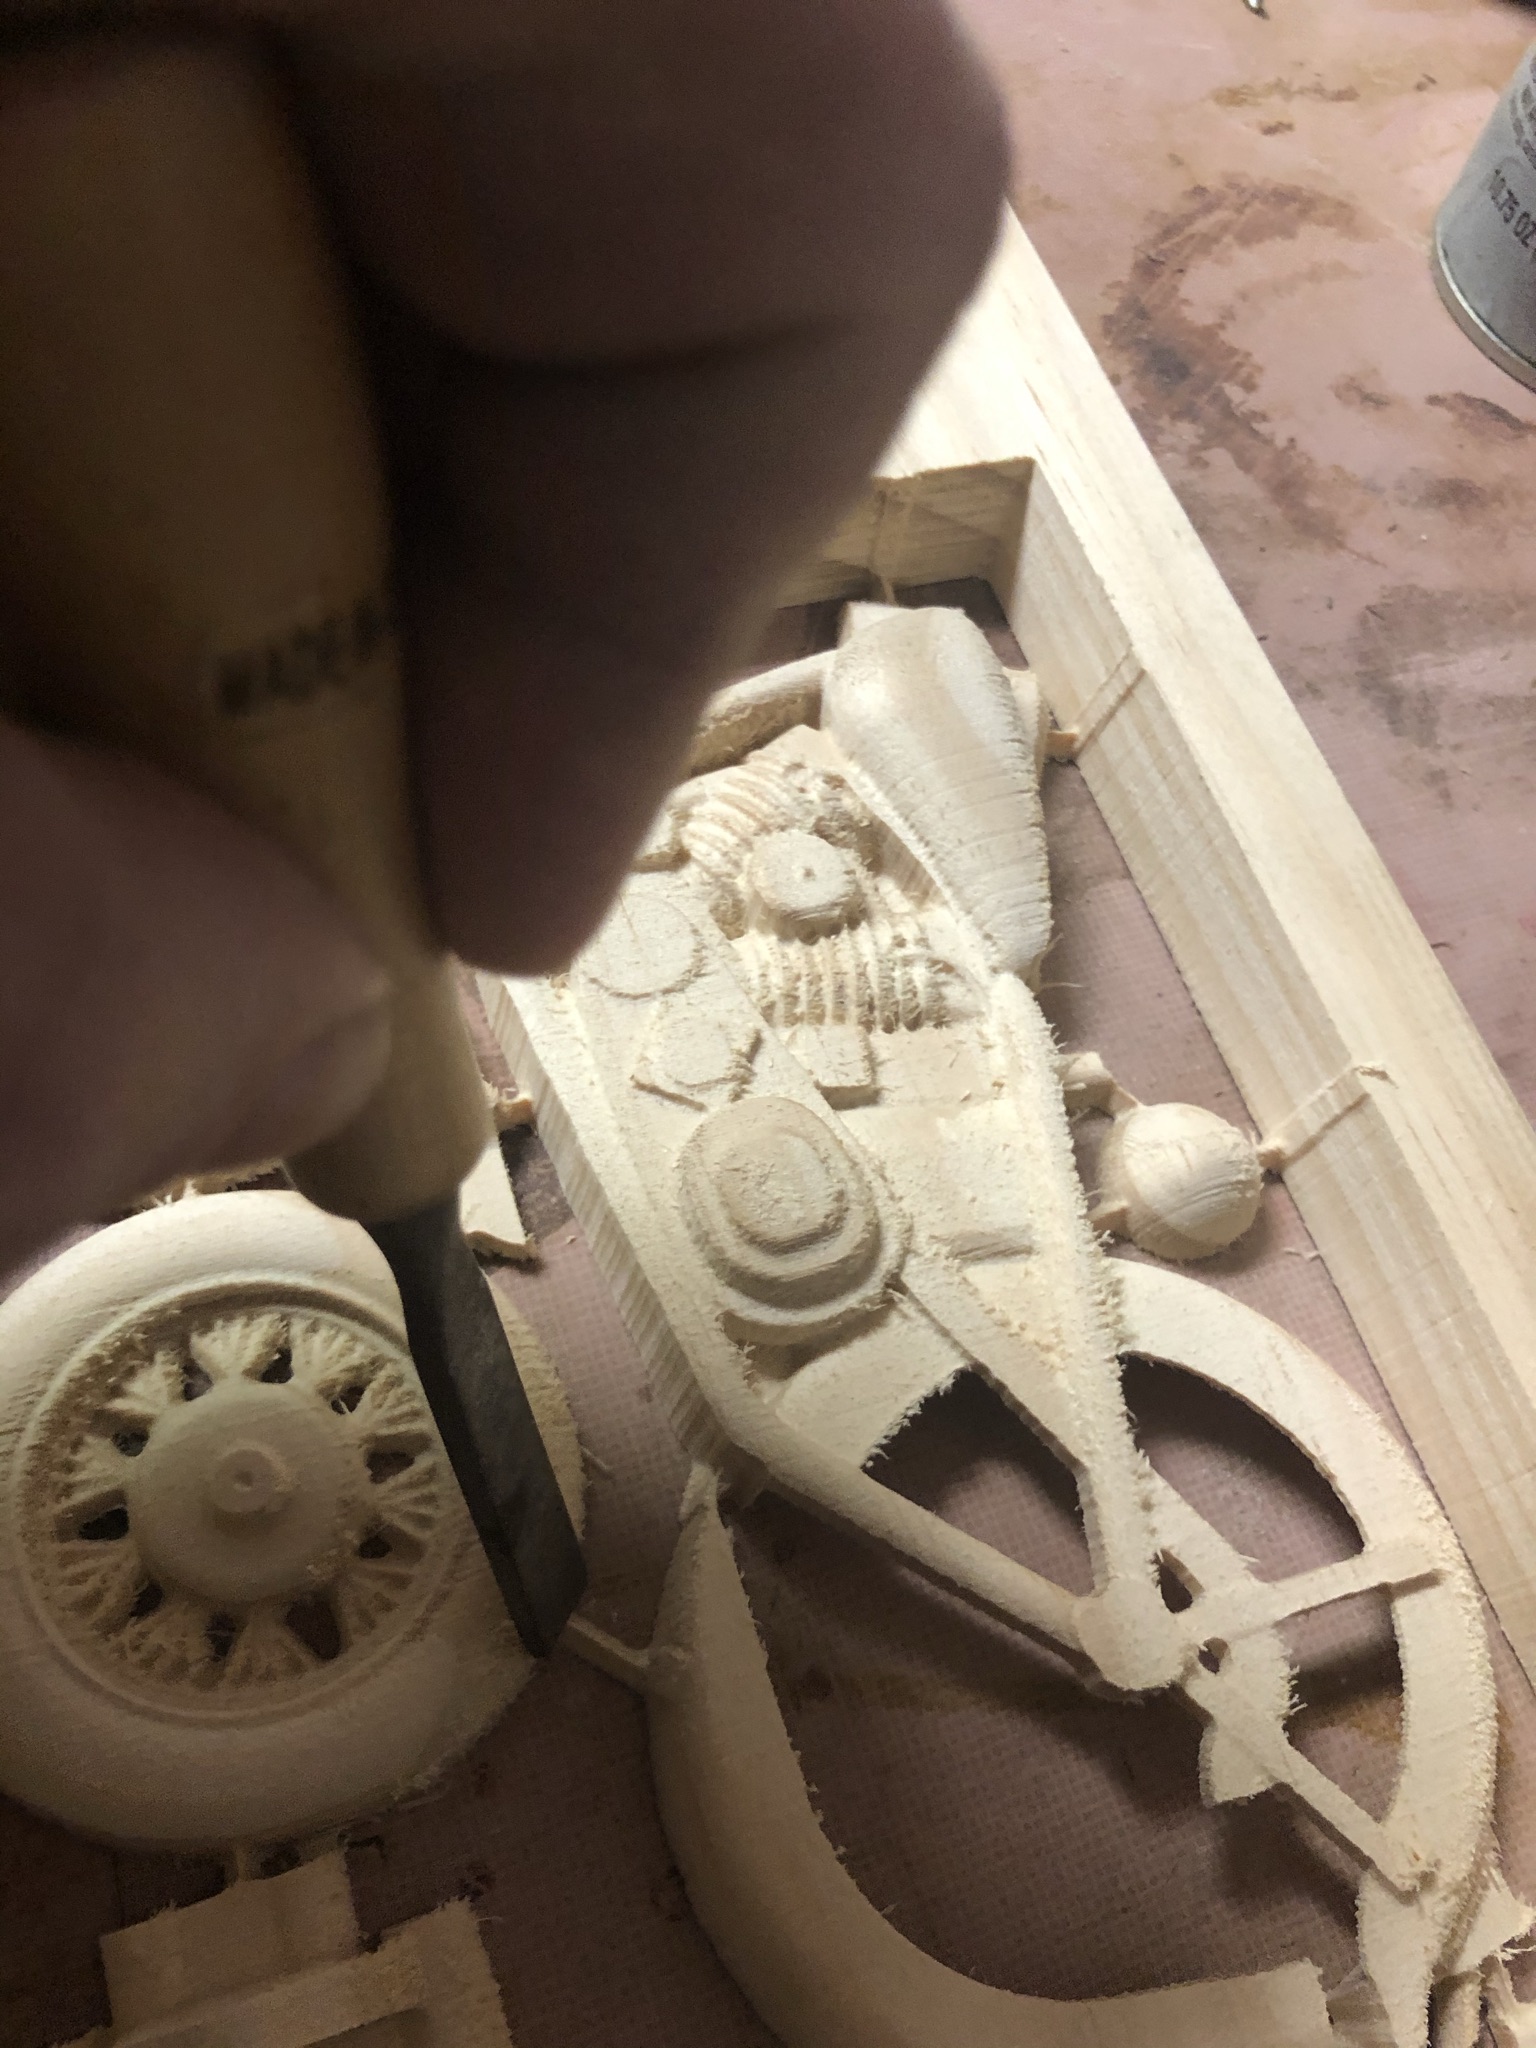
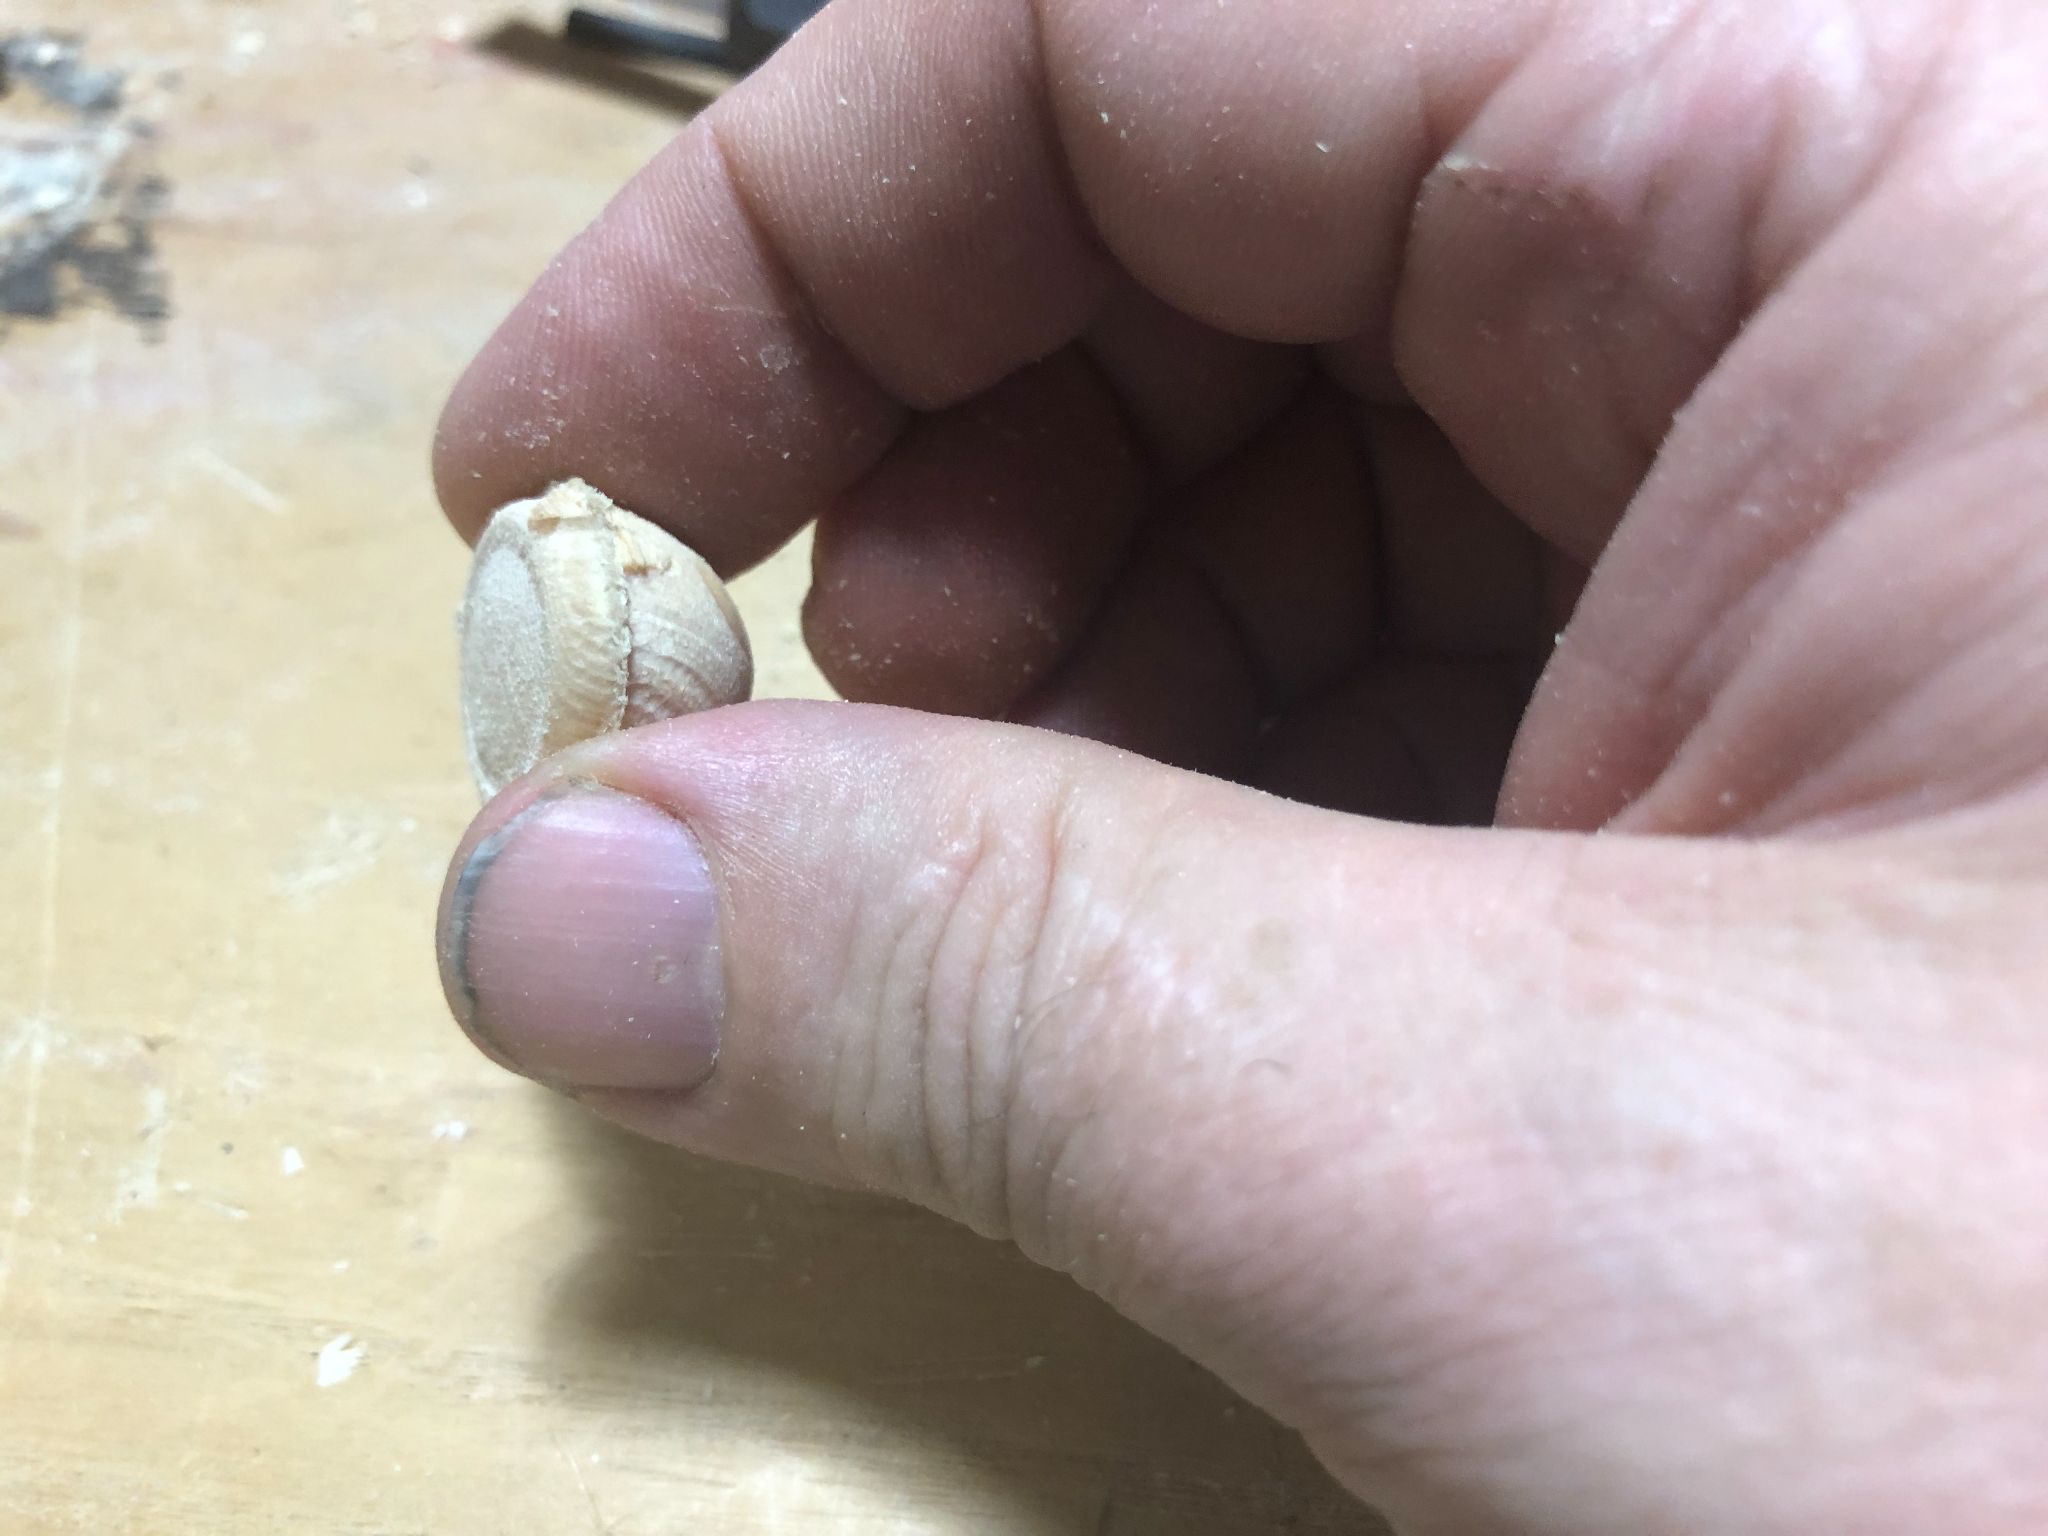
Now that the project is carved, the parts were freed by cutting the tabs using a sharp chisel.
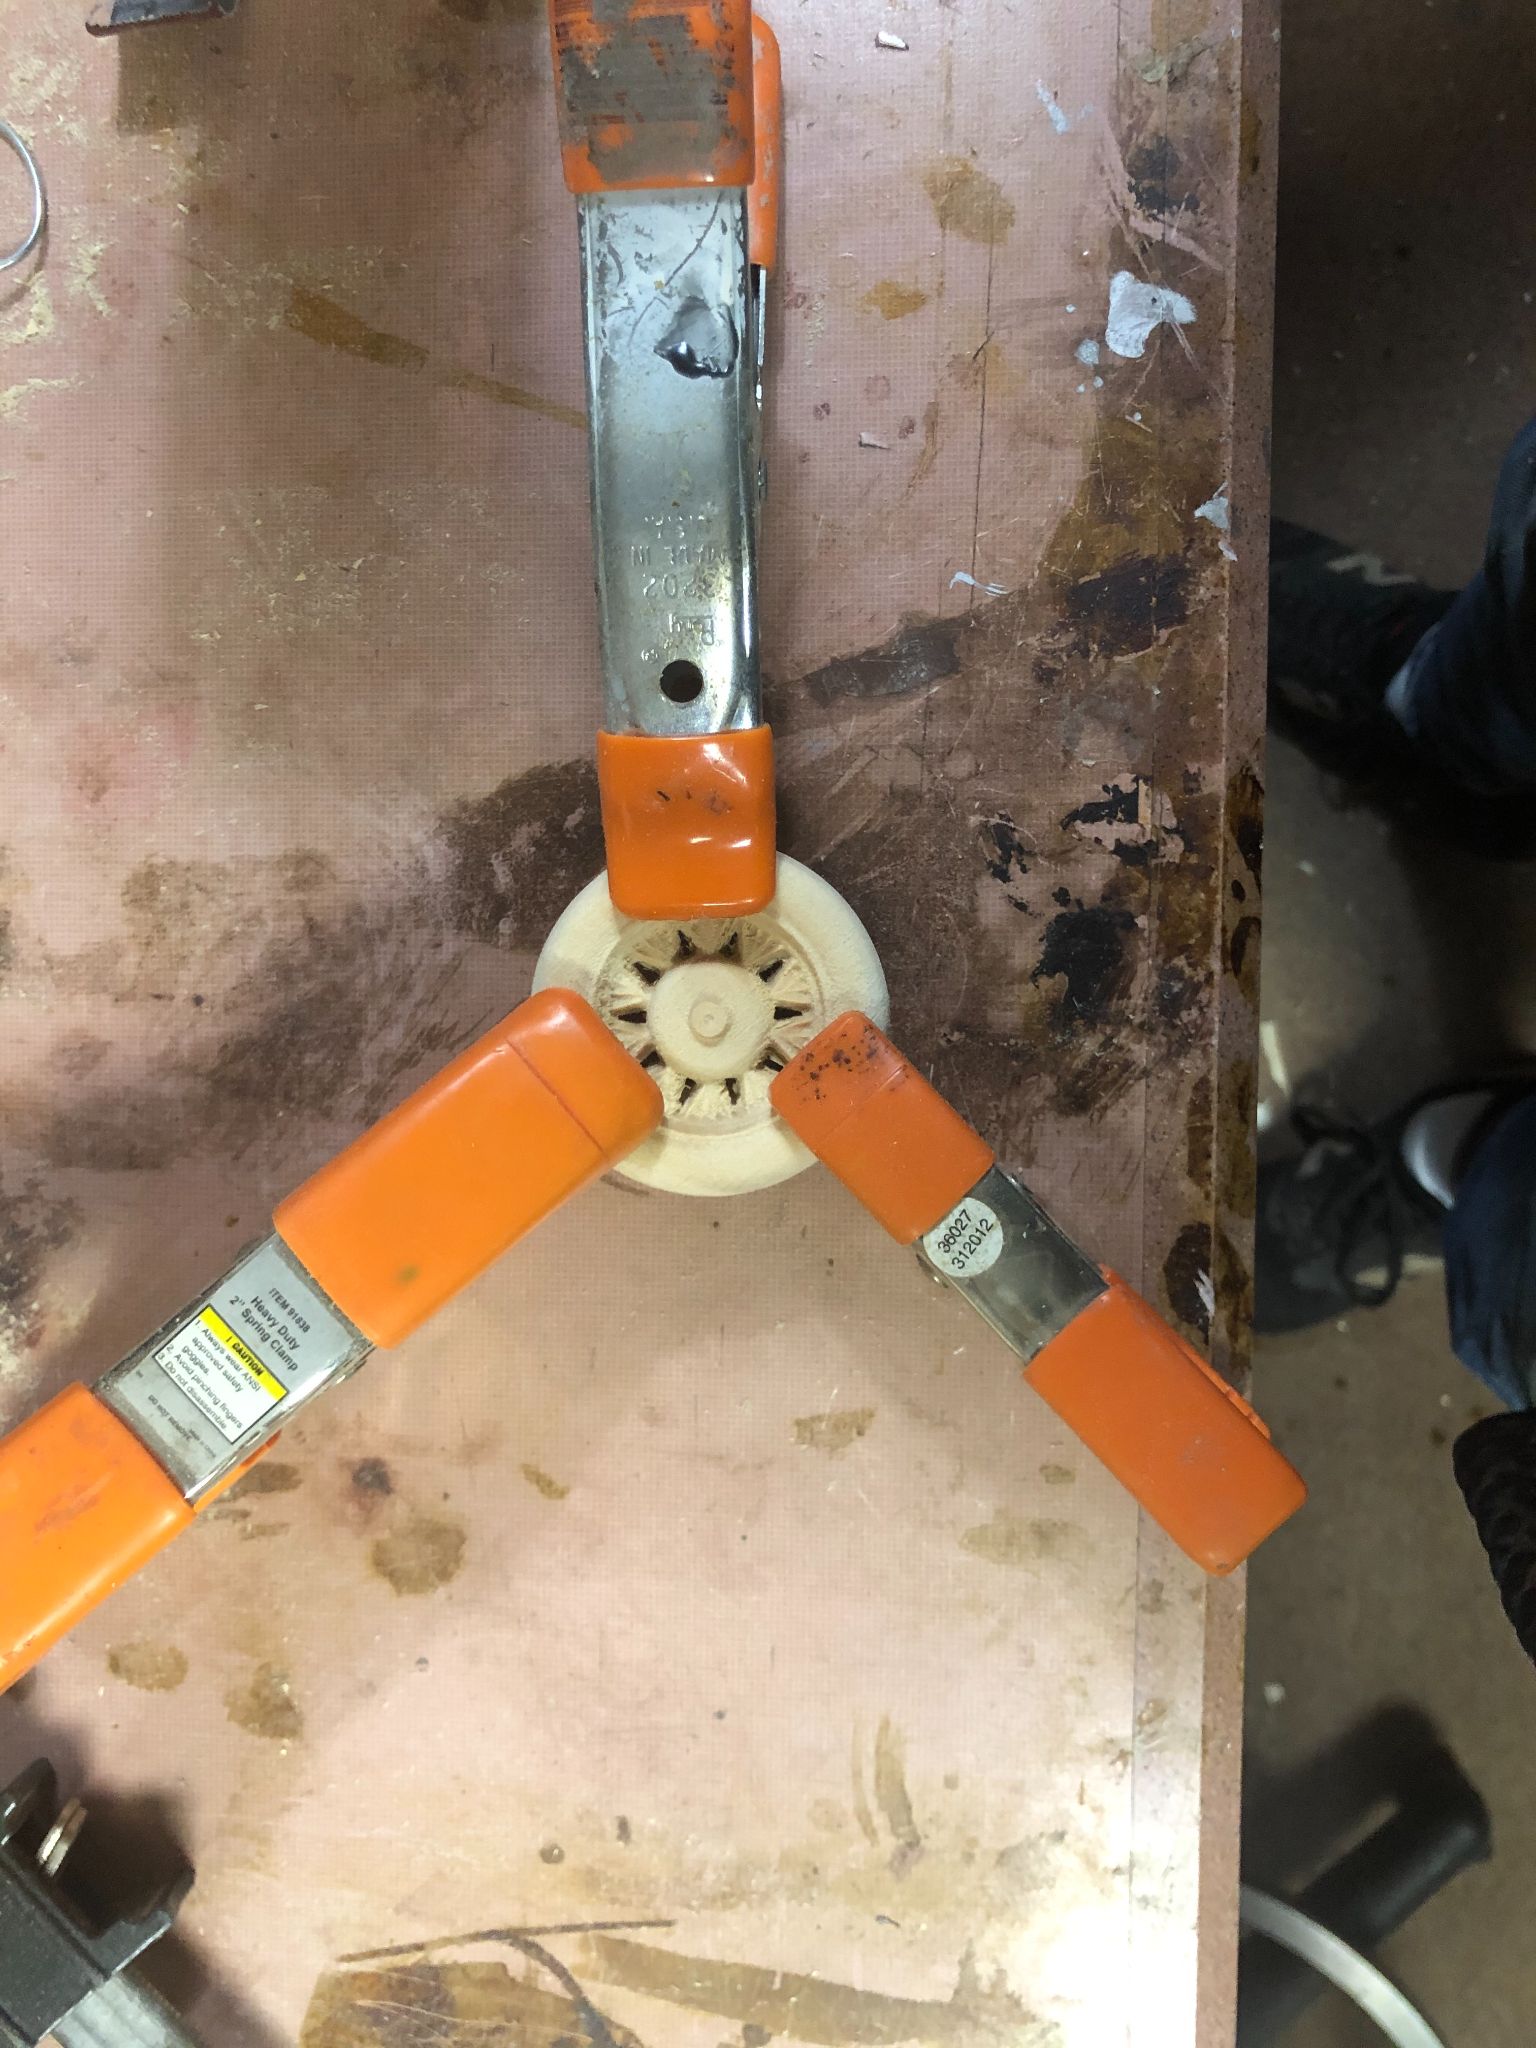
Then, the pieces were glued together. The two halves of the motorcycle body, the forks, wheels, and the front fender parts. It was much easier to sand these parts after they were glued together.

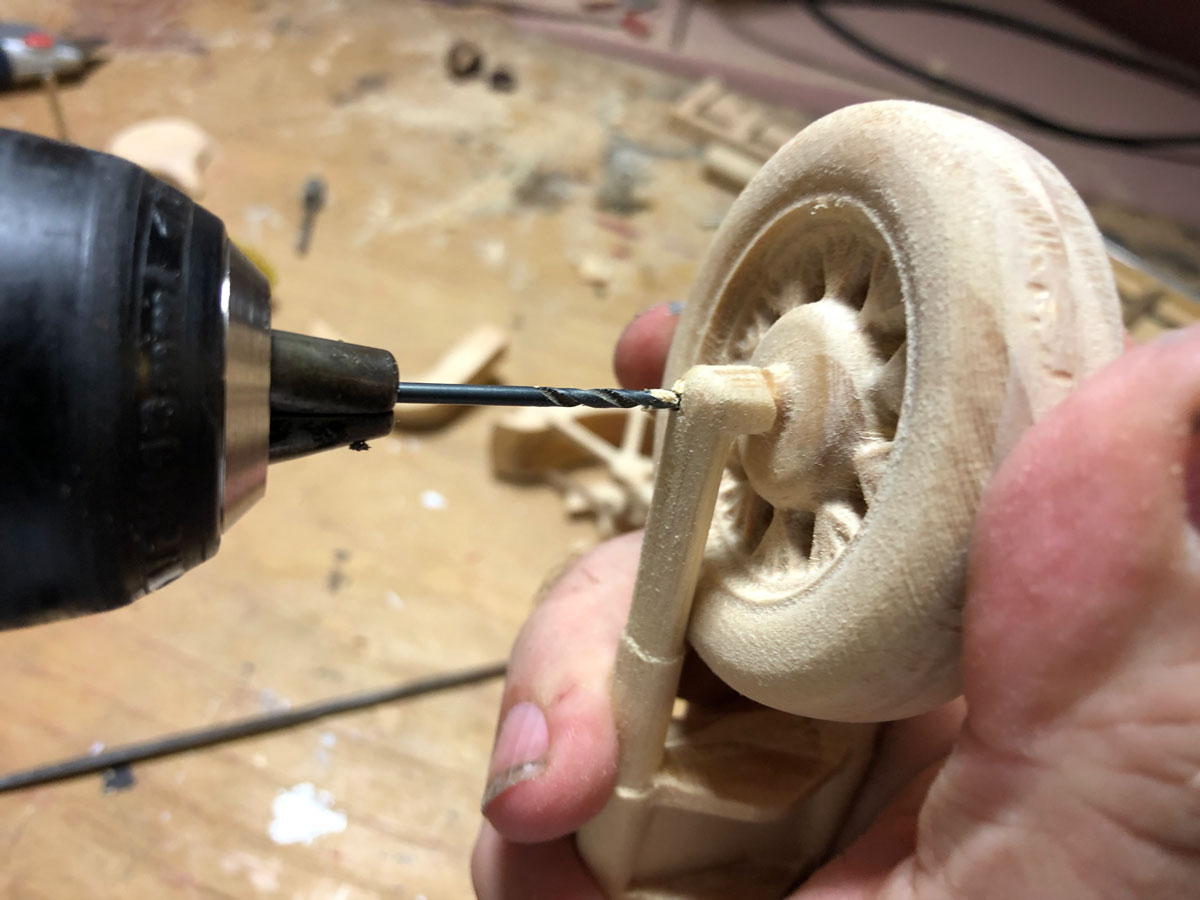
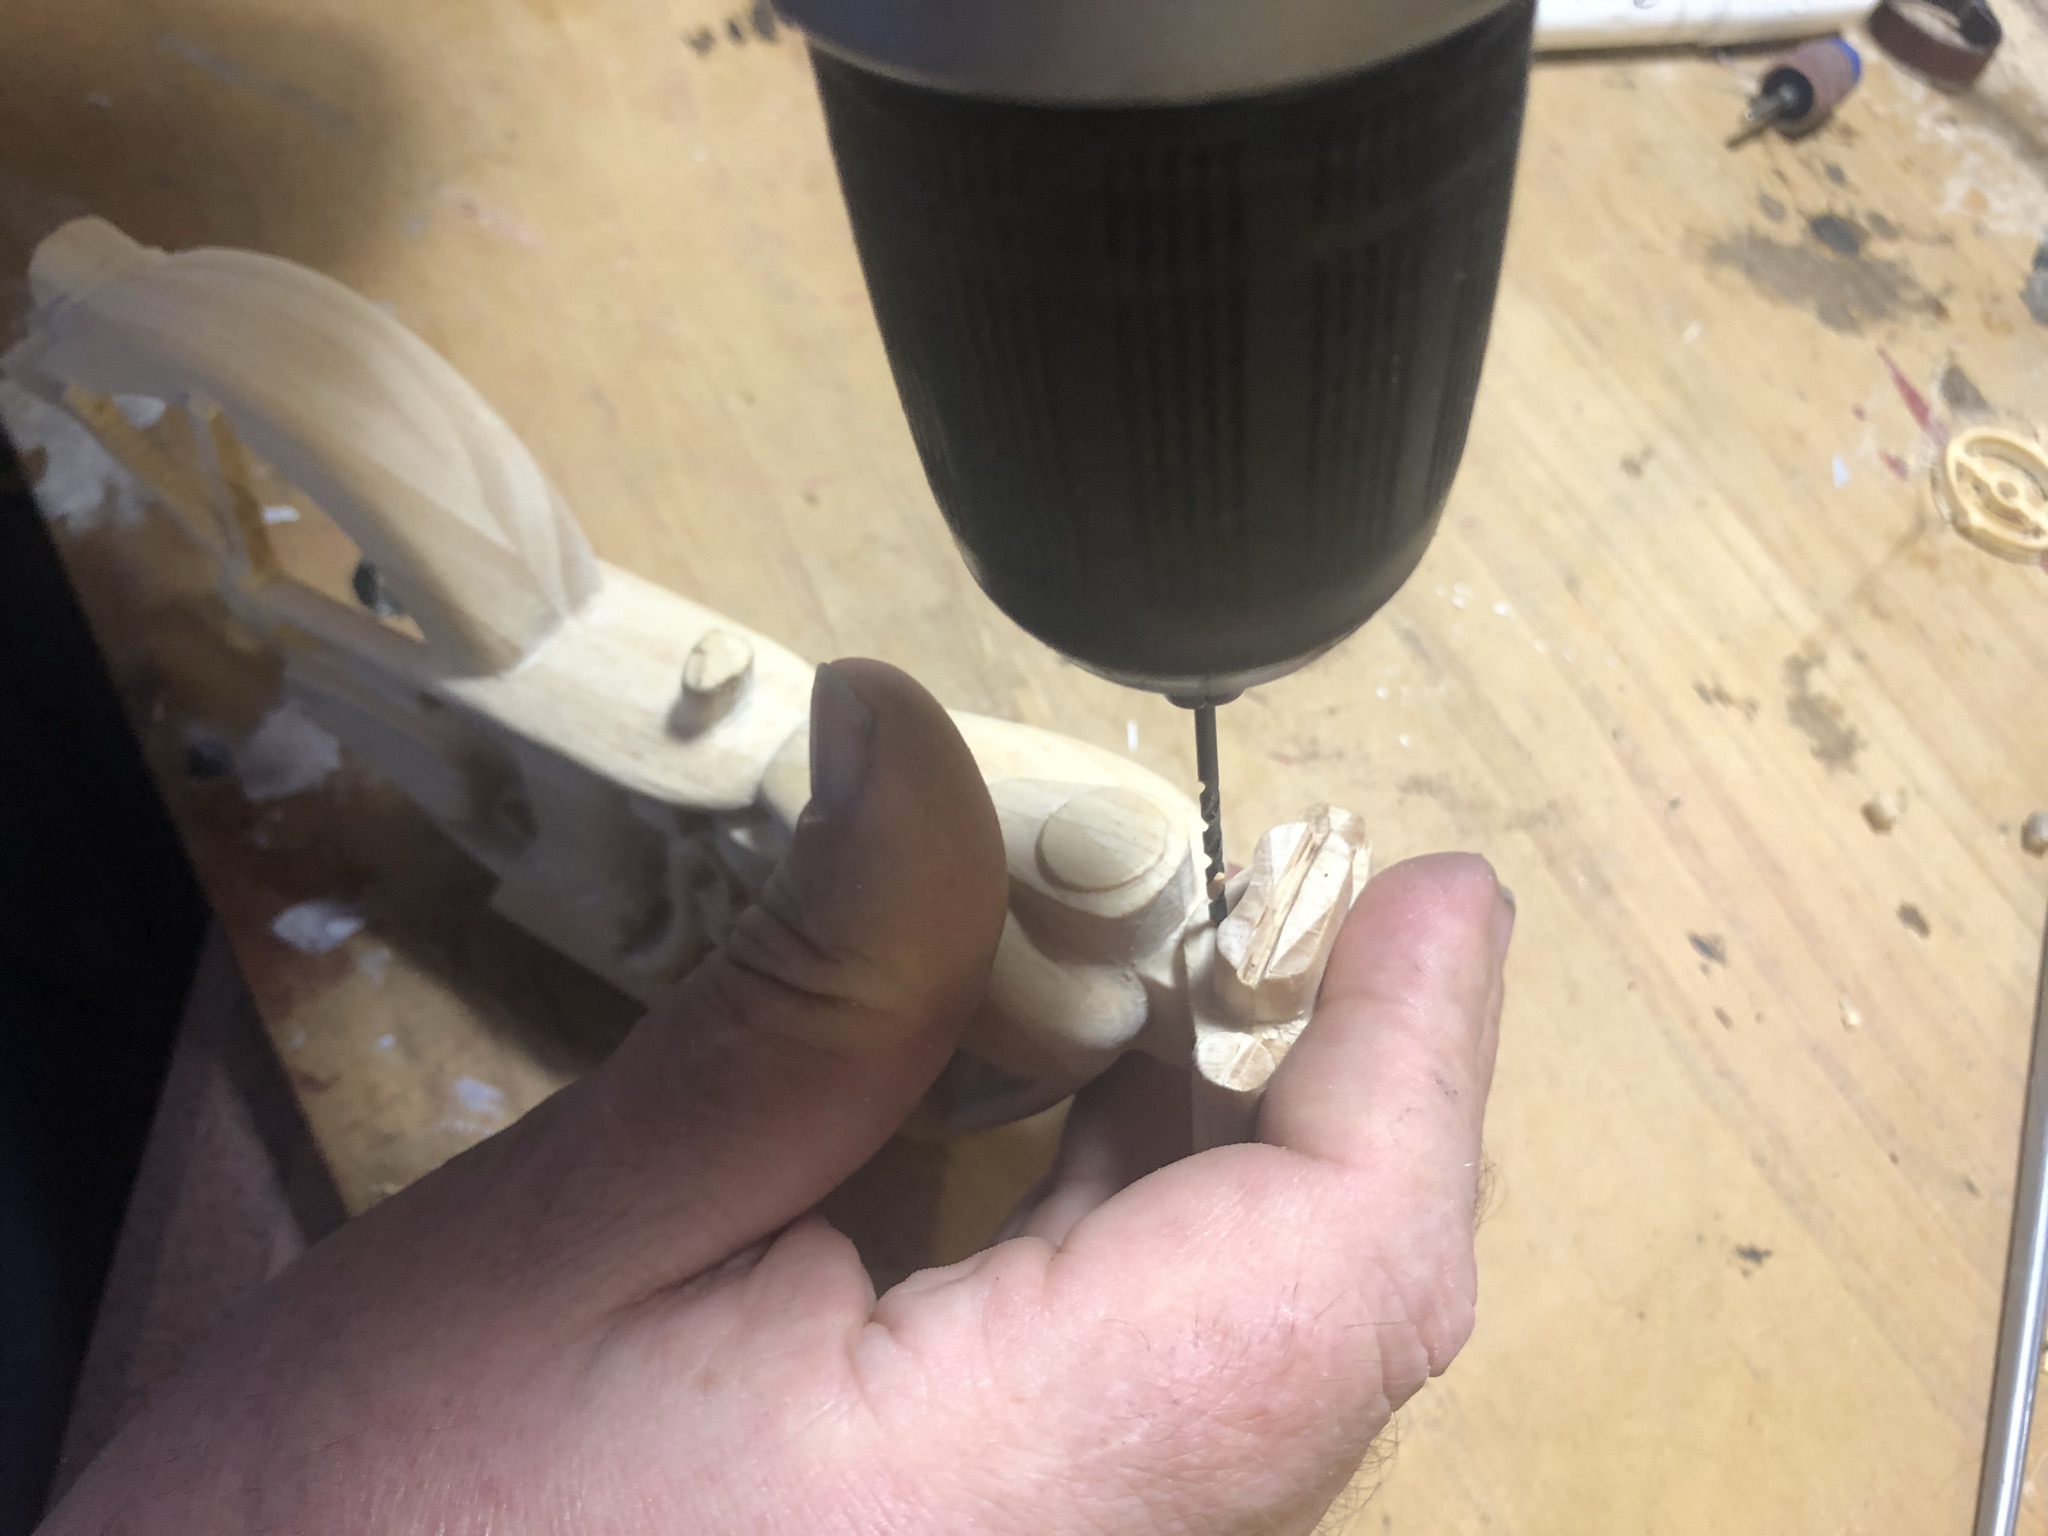
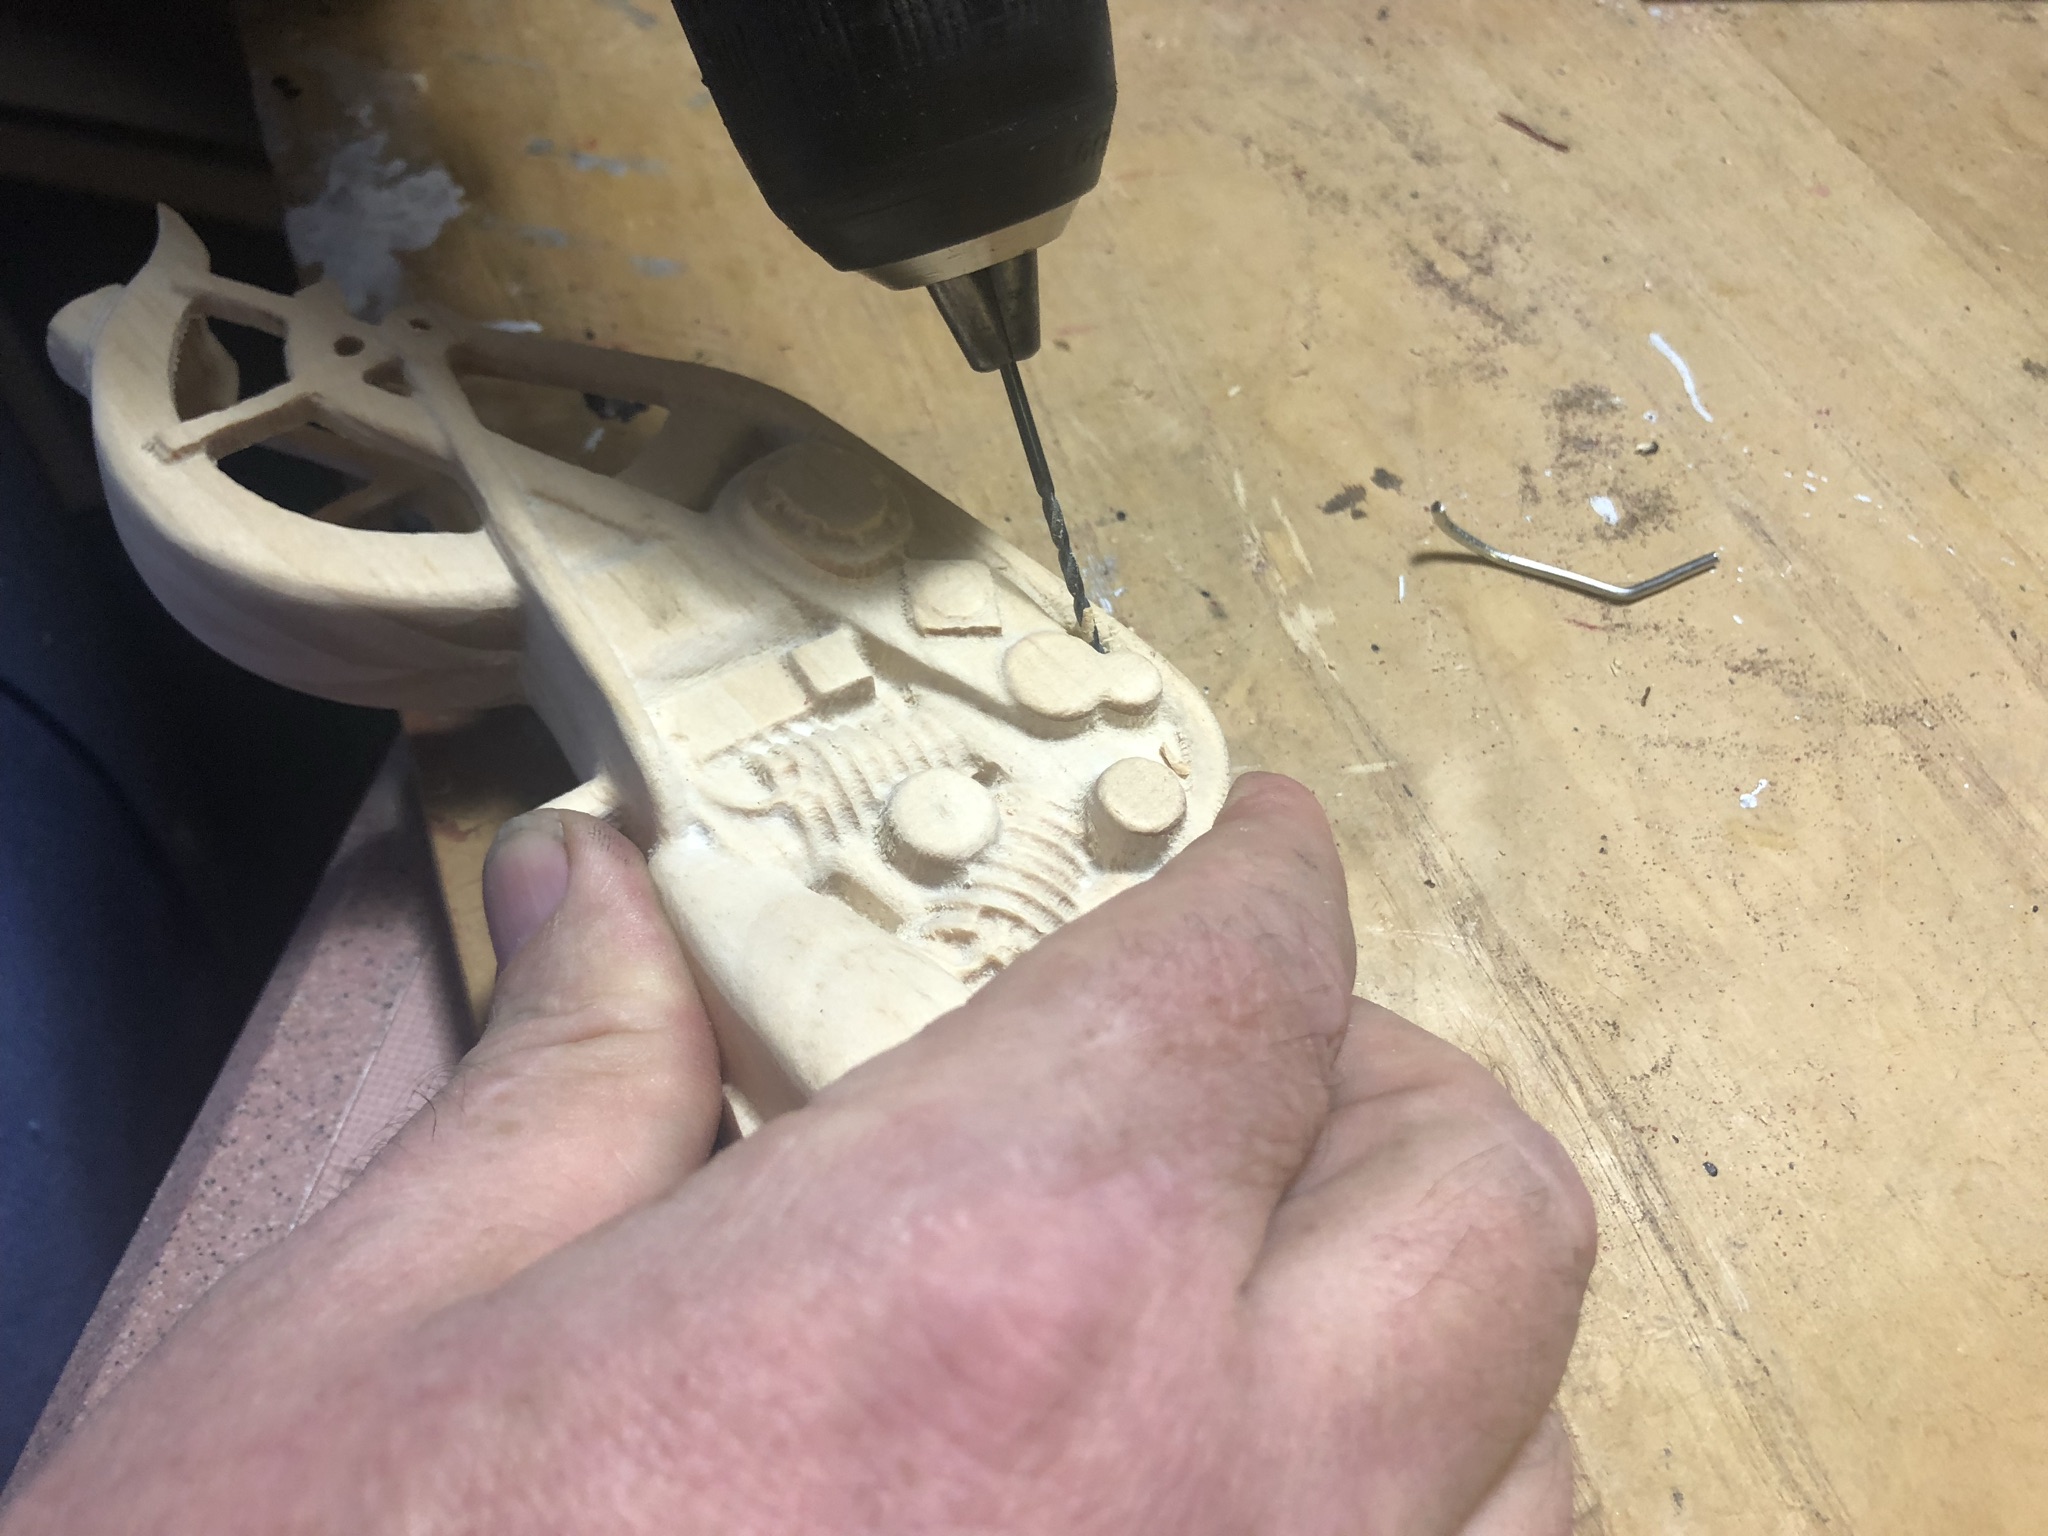
Drilling Holes
Using a 1/16 inch drill bit, holes were drilled for the axle through the tires and fork for the front, and the tire and motorcycle body on the back.
Then another hole was drilled at the fork mount to the main body mount. This is the pivot that allows the front wheel to turn.
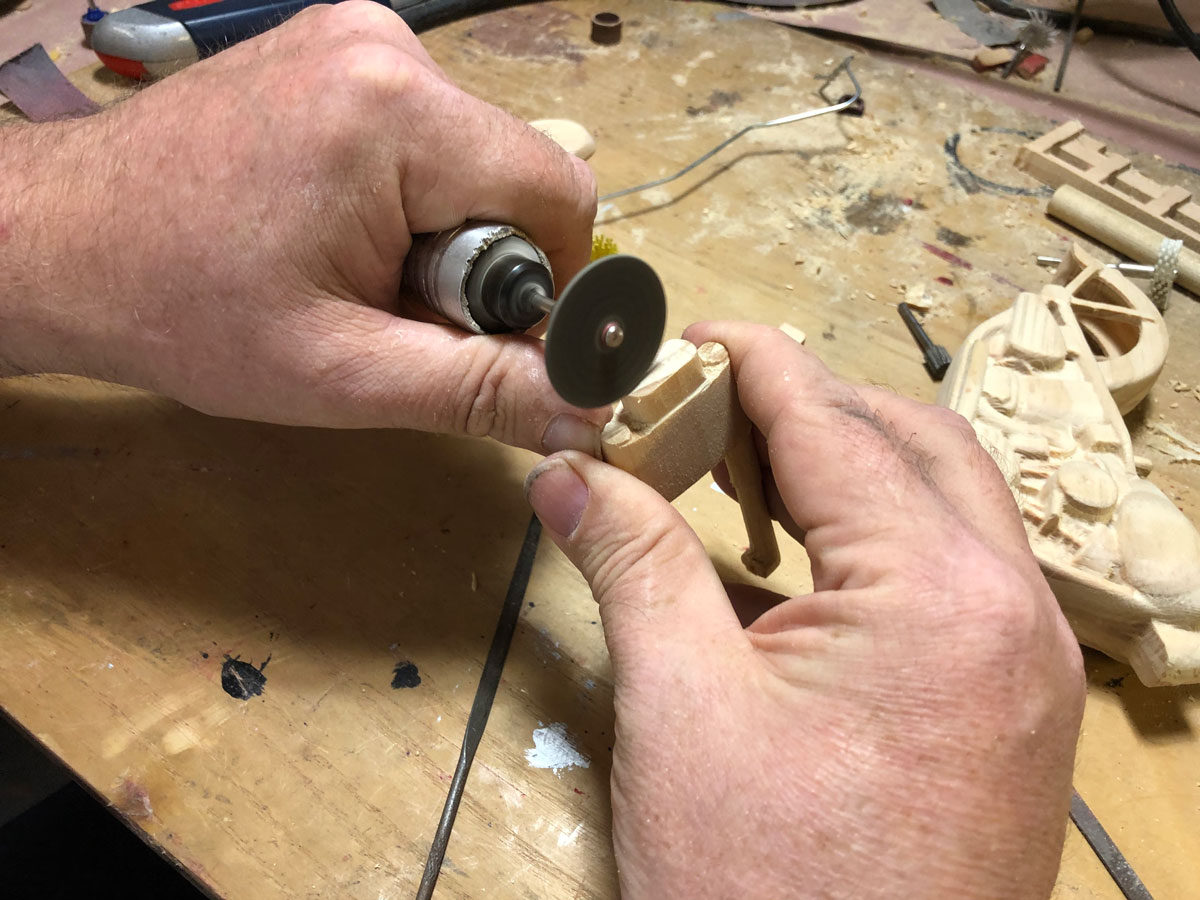
A groove was slotted into the top of the fork for the handlebar to seat into.
The handlebar, made from a coat hanger, fits into the groove under the top of the fork cap.
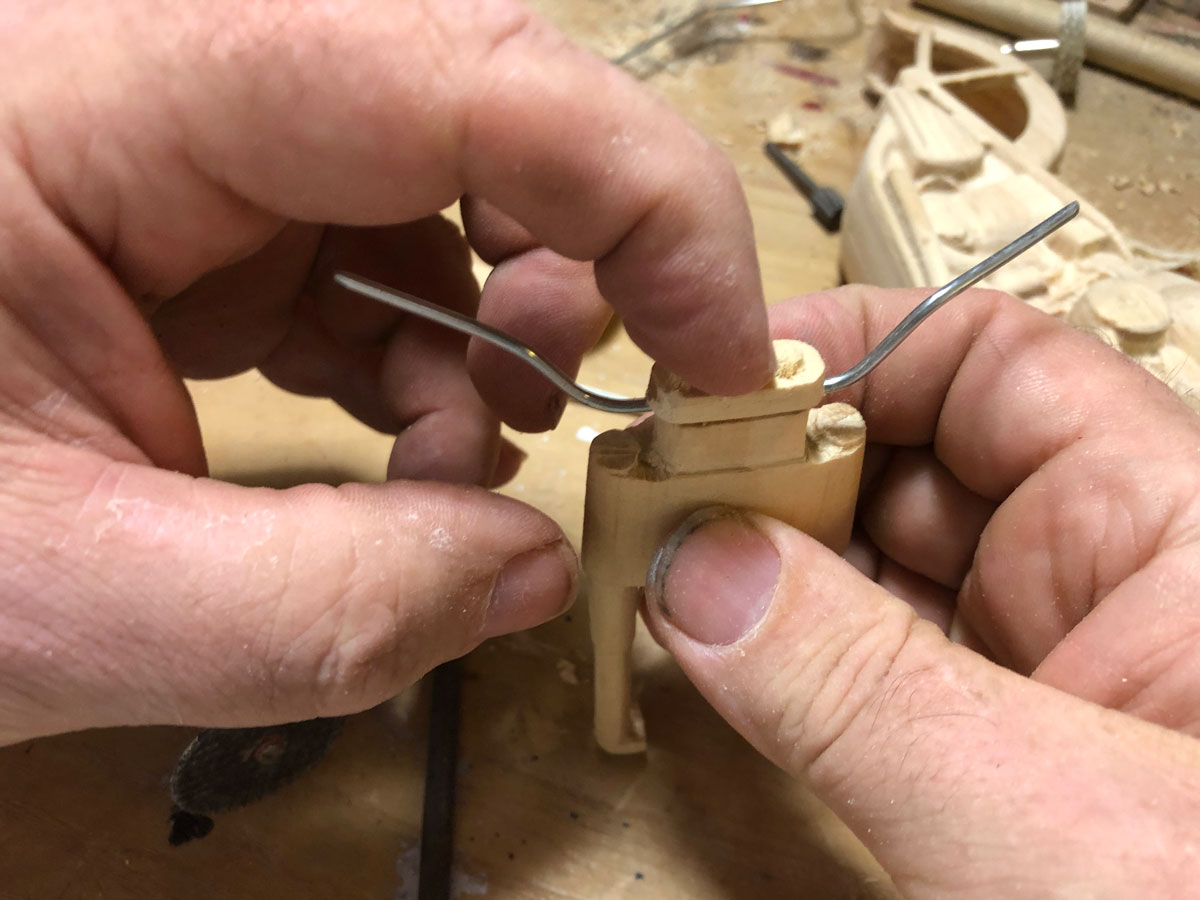
A kickstand was added with another piece of coat hanger.
Assembly
The final assembly adds the headlamp, wheels, seat and fender.
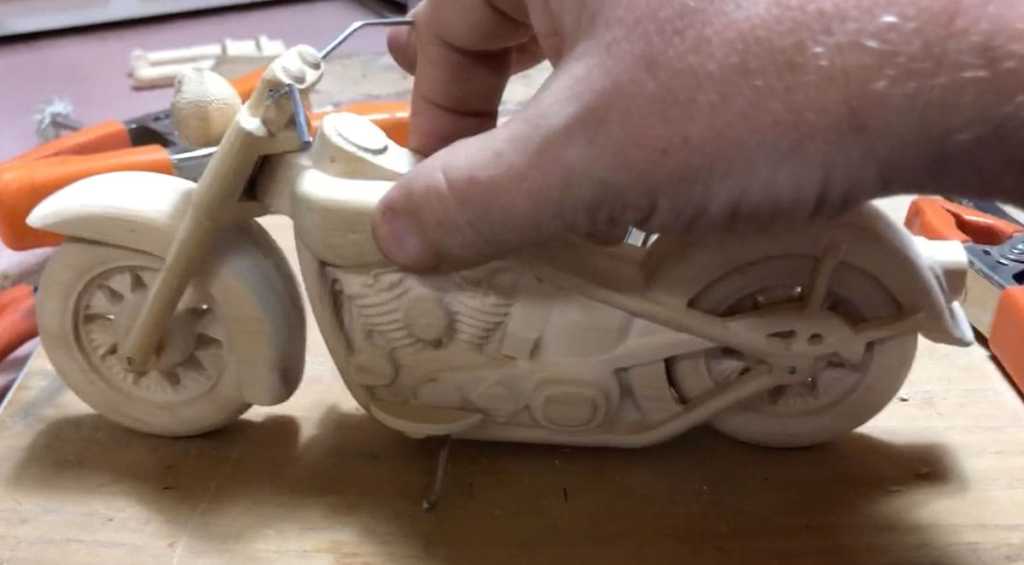
STEP 6 – Painting/Staining
This piece was then stained, painted, and finished with a thick coat of polyurethane.


